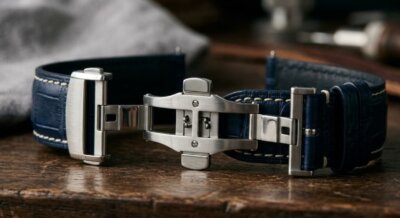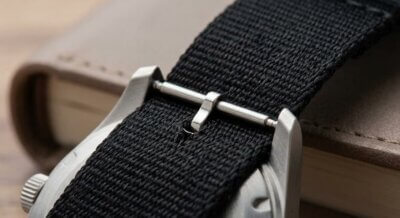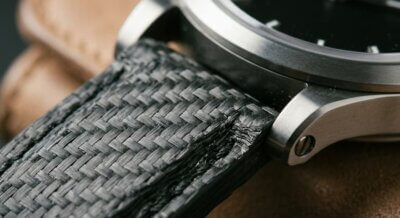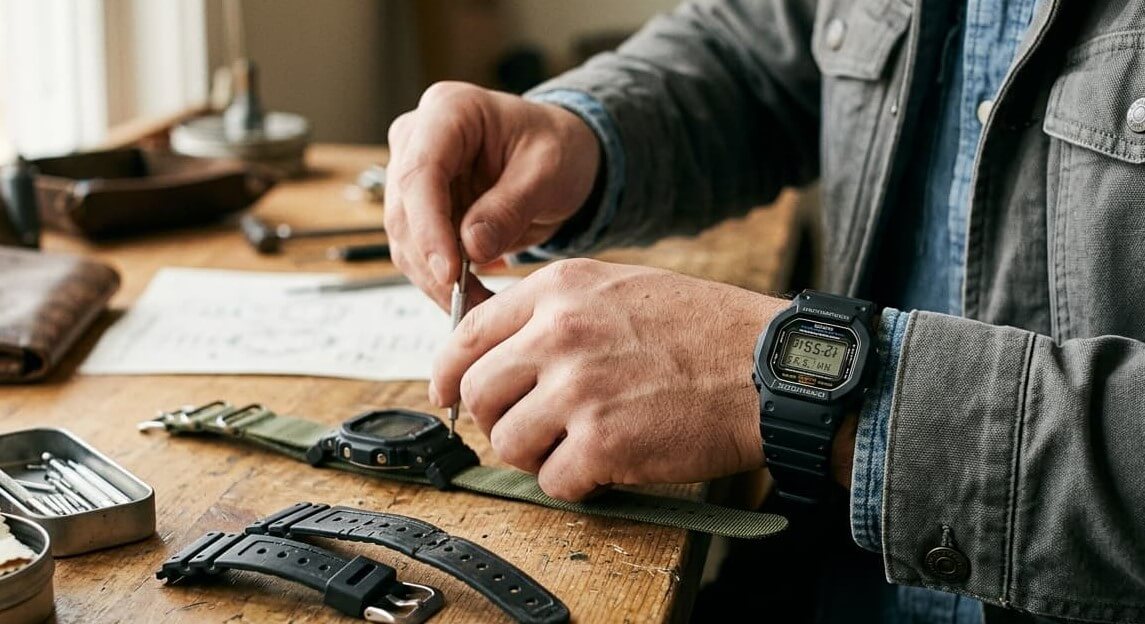
Why Replace Your G-Shock Watch Band?
Replacing a G-Shock watch band is a standard part of owning these durable timepieces. Over time, the original band shows wear through cracks, fading, and stiffness as materials age. Stretching causes loose fit, and degraded bands affect both reliability and comfort.
Replacement brings practical gains: a new band restores comfort for all-day wear, renews durability for sports or work, refreshes appearance without a full upgrade, and saves money compared to purchasing another watch. Customization opens further possibilities—switch to match sport demands or office settings, keeping your G-Shock versatile across lifestyles. Compatibility starts with lug width, the distance between the lugs on the watch case. Many G-Shock models use 16mm, but sizes vary, so verify your exact model before choosing a replacement.
Understanding G-Shock Band Sizes and Measurements
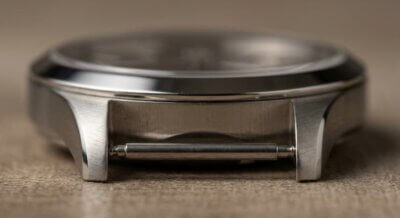
The Casio G-Shock band size starts with lug width, which is the distance measured between the lugs—the protruding parts on the watch case where the G-Shock watch band attaches. This measurement determines compatibility because replacement bands must match this width to secure properly using spring bars. Precision here prevents common issues like slippage or poor seating during installation.
Bands also involve taper, where the width narrows from the lug end toward the buckle for a contoured fit, and overall length affects wrist wrap. Measure both to ensure full compatibility.
Measurement Steps Checklist
Follow these steps for reliable results:
- Use digital calipers or a ruler for measurement; calipers provide exact millimeters without guesswork.
- Clean the lugs and surrounding area with a soft cloth to remove dirt that could skew readings.
- Align your tool precisely between the lugs, closing the jaws gently without forcing.
- Measure the distance three times, rotating the watch slightly each time for consistency.
- Record the average; if fractions appear, round up to the nearest millimeter for band selection.
- Verify tool accuracy: for calipers, test against a known object.
- Double-check taper by measuring the band’s lug-end width separately from the buckle end.
- Note total band length needed based on your wrist circumference with slight overlap.
With these practices, beginners can confidently determine the right size before purchasing, reducing mismatch risks. Next, explore types of compatible G-Shock watch bands to match your measured specs with material options.
Types of Compatible G-Shock Watch Bands
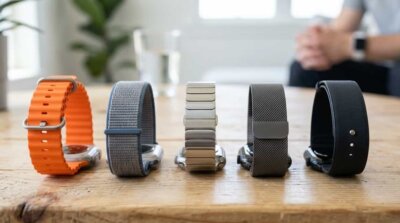
Among G-Shock compatible watch bands, material choice affects durability, comfort, and style while matching your lifestyle. Common options include resin, rubber, silicone, nylon, leather, and metal, each with strengths for specific activities. Always verify compatibility based on your model’s lug width.
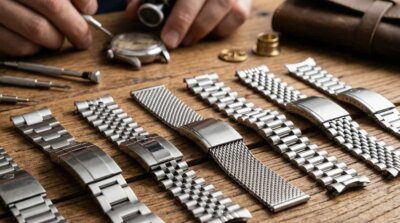
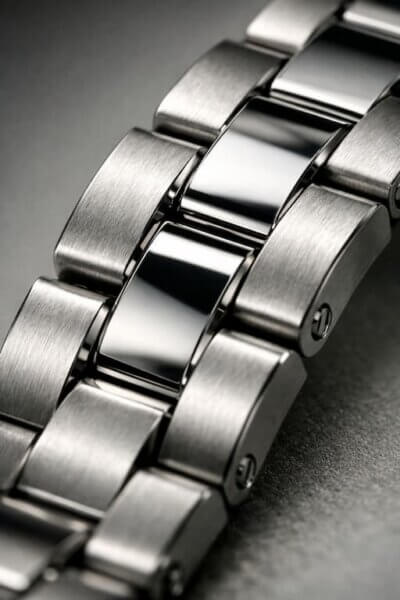
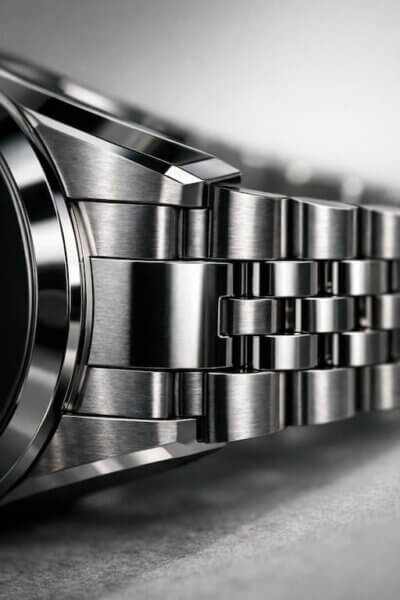
Resin, rubber, and silicone bands form the default choice for sport use due to their flexibility and water resistance. These materials flex without cracking and maintain shape during workouts. Nylon and NATO styles dry quickly after water exposure and suit adventure settings, providing breathability over long periods. Full-grain leather offers a style upgrade with natural patina over time, ideal for office or daily wear. Metal or steel mesh bands add durability and a polished look, suitable for formal occasions.
Material Comparison Table
| Material | Key Benefits | Best For | Compatible Models |
|---|---|---|---|
| Resin/rubber/silicone | Water-resistant, flexible, sweat-proof | Sport, gym, daily active | Most models with 16mm lug width; adapters often optional for wider straps |
| Nylon/NATO | Quick-dry, breathable, lightweight | Adventure, outdoor | Common with adapters on DW/GA series; verify lug width |
| Leather (full-grain) | Develops patina, comfortable with wear | Office, style-focused daily | Typically 16mm direct fit; check model compatibility |
| Metal/steel mesh | Highly durable, adjustable fit | Formal, durable style | Varies; GA100 and GBD-200 common; measure lugs to confirm |
Choose Your Material: Simple Decision Tree
- Primary need sport or gym? Go resin/rubber/silicone—sweat-proof and quick-drying for high-intensity training.
- Focus on adventure or outdoors? Select nylon/NATO—durable and secure during hikes or climbs.
- Prefer office or style? Choose leather or metal/steel mesh—elevates appearance while conforming comfortably.
- Mix of daily uses? Start with resin/rubber/silicone, swap for variety as needed.
G-Shock Model Compatibility Guide
When selecting a G-Shock compatible watch band, start with your watch model’s specifics to avoid mismatches. This model-first approach focuses on lug width and whether adapters are required. Adapters are small metal or plastic pieces that bridge the gap between a G-Shock’s unique lug system and standard band widths like 22mm or 24mm. Always verify your exact model and lug width before purchasing, as specifications vary within series.
The table below covers popular G-Shock models and series, summarizing key compatibility details. Use it as a starting point, but cross-check your watch’s back for the precise reference number.
| Model Series | Lug Width | Adapter Type | Notes |
|---|---|---|---|
| DW5600 | Typically 16mm (verify) | Optional for 22mm | Standard spring bars; common for resin swaps; verify exact model. |
| GA2100 (CasiOak) | Typically 16mm (verify) | Optional; quick-release | Direct fit for many; quick-release spring bars allow easy swaps; test tug firmly after install. |
| GW-9400 (Rangeman) | Typically 16mm (verify) | Often required for 22/24mm | Adventure-ready; verify for triple sensor models. |
| DW6900 | Typically 16mm (verify) | Optional | Classic square; fits standard G-Shock bands; verify exact model. |
| GA100 | Typically 16mm (verify) | Optional for NATO | Analog-digital; adapters common for metal mesh. |
| GW-M5610 | Typically 16mm (verify) | None typical | Solar atomic; direct resin or rubber fit; verify lug alignment. |
| DW9052 | Typically 16mm (verify) | Optional | Rugged ISO; good for silicone; verify exact model. |
| GA700 | V-shaped: measure to verify | Required for 22mm | Larger case; measure lugs precisely; verify exact reference. |
| GBD-200 | Typically 22mm (verify) | None | Smart hybrid; direct standard bands; verify exact model. |
| Mudmaster GG-1000 | Typically 16mm (verify) | Often for NATO | Quad sensor; adapters for adventure straps; verify exact model. |
Most DW/GA/GW series share 16mm lug width, where adapters are optional but common for upgrading to wider straps like nylon or NATO. Quick-release models like GA2100 allow easier swaps. Always verify your exact model and lug width before daily use.
Tools You’ll Need for G-Shock Strap Replacement
For a smooth G-Shock strap replacement, gather recommended tools upfront. These make the process easiest and safest, especially for beginners tackling their first swap.
Start with a clean, well-lit workspace on a stable surface to keep small parts from rolling away and to spot any dirt buildup on the lugs.
Here is a checklist of essential and optional tools:
- Must-have: Spring bar tool (essential for compressing the spring bar safely without damage).
- Must-have: Matching pins or spring bars (come with most replacement bands; verify size matches your lug width).
- Must-have: Microfiber cloth (for cleaning lugs and wiping down the new band before install).
- Nice-to-have: Digital calipers (for double-checking lug width measurements).
- Nice-to-have: Small screwdriver (useful for some resin bands or tight pins).
- Nice-to-have: Adapters (if your chosen band requires them based on model compatibility).
- Nice-to-have: Painter’s tape (apply to case edges to prevent scratches during handling).
With these in hand, you can proceed confidently to the step-by-step installation process next.
How to Change a G-Shock Band: Step-by-Step Guide
This guide details how to change a G-Shock band with clear steps for beginners. Follow each one in order, working slowly to avoid common issues like scratching or pin loss.
1. Preparation
Set up a clean, well-lit workspace with a soft cloth or towel to catch small parts. Protect the watch case by applying low-tack painter’s tape over exposed areas. Confirm your new band matches your model’s lug width and includes any needed adapters or spring bars. Verify buckle orientation: the buckle should face outward when worn, with prongs up for standard resin bands.
2. Remove Old Band
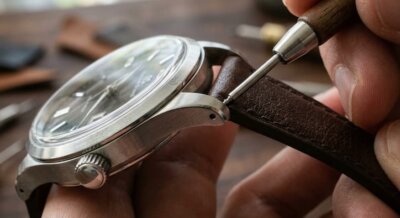
Flip the watch to expose the spring bars connecting band to lugs. Insert the spring bar tool’s forked tip into the slot at the inner end of the spring bar (closest to the case center). Apply steady inward pressure to compress the spring-loaded bar—do not pry upward, as this risks launching the pin. While compressed, gently pull the band away from the lug. Repeat for the other side. Set spring bars aside safely; they are reusable unless damaged.
For GA2100 models, spring bars are quick-release: pinch the exposed outer end with fingers or tool to pop them free—no deep compression needed. Watch for the bar fully ejecting; catch it to avoid loss.
3. Clean the Lugs
Wipe lug holes and grooves with a microfiber cloth dampened in isopropyl alcohol or mild soap water. Remove grit, old residue, or lint that could block new spring bar seating. Dry thoroughly with a clean cloth section—moisture causes slippage later.
4. Install New Band
Align one spring bar end with the lug’s inner hole. Insert fully until it protrudes slightly from the outer groove. Position the band’s lug hole over the protruding end. Compress the spring bar’s outer end with the tool, then slide the band into the lug while maintaining pressure. Release slowly; the bar expands to lock. Repeat for the second side. If using adapters, secure them first per model notes, then attach band to adapter holes.
Pitfall avoidance: Misalignment happens if ends miss grooves—gently rock the band back and forth to seat fully. For pin loss, compress only enough to insert; never fully remove mid-process. Wrong buckle orientation is common—verify buckle at 12 o’clock position, long tail at 6 o’clock.
5. Verification
Tug each band end firmly to confirm spring bars do not slip. Twist the watch case side-to-side; secure bands stay flush without gaps. Check buckle: it should clasp smoothly without twisting the band unnaturally. If slippage occurs, recompress and reseat—do not wear until verified.
6. Final Fit Check
Wear the watch for a few minutes. Ensure even alignment on wrist, no pinching, and comfortable buckle tension (one finger-width under band). Adjust length if tapered. Remove and recheck seating after first wear.
Tips for Perfect Fit and Maintenance
After installation, verify that your G-Shock watch band is seated correctly and will not slip during daily wear. Gently pull the band away from the watch case on both sides; it should resist movement without flexing excessively. A secure fit reduces the risk of accidental loss.
The tightness of the band around your wrist affects comfort and security. You should be able to fit one finger between the band and your skin when fastened. If the band is too loose, it may rotate or slip; if too tight, it can restrict blood flow and cause discomfort.
Proper maintenance preserves appearance, prevents odor, and extends the life of your band. Cleaning methods vary by material: Rinse rubber, silicone, and resin bands with lukewarm water and mild soap after exposure to sweat or salt water, then dry thoroughly. Avoid leaving them in direct sunlight for extended periods. Nylon and NATO straps are quick-drying and easy to clean—rinse with cool water and mild soap, then hang or lay flat to air-dry completely. Leather bands develop character through patina; keep them away from prolonged water exposure and wipe dry immediately if wet. Apply leather conditioner occasionally to maintain suppleness. Metal and steel mesh bands are low-maintenance—clean them with a soft brush and mild soapy water to remove dirt, then dry immediately to prevent water spots.
For all materials, avoid harsh chemicals, bleach, or abrasive scrubbers, as these can degrade the band and affect the watch case finish. One advantage of replaceable G-Shock bands is the ability to customize for different settings—silicone or rubber for gym and sports, leather or discrete nylon for office environments, and nylon or NATO for adventure and outdoor activities. Many users maintain two or three bands, rotating them based on weekly activities to distribute wear evenly.
Common Mistakes and Troubleshooting
Even with careful steps, beginners often encounter issues during G-Shock strap replacement. This section outlines frequent problems in a “Problem → Likely cause → Fix” format, focusing on practical solutions.
- Problem: Spring bar (pin) loss during removal or installation.
Likely cause: Spring bar launches out when pressure is released too quickly, or it slips while handling.
Fix: Use a microfiber cloth or tape over the lug area to catch the spring bar. Work slowly with a spring bar tool; store removed bars immediately in a safe spot. If missing, replace with a matching spare—measure diameter to match your model. - Problem: Misalignment where the band does not sit flush against the case.
Likely cause: Spring bar not fully seated in both lug holes, often from incomplete insertion.
Fix: Inspect both ends visually for full engagement. Gently rock the band back and forth to seat the spring bar fully—listen for it to settle without popping. Tug firmly to test; reseat if needed. - Problem: Wrong size band that gaps or binds at the lugs.
Likely cause: Lug width mismatch.
Fix: Remove the band and repeat measurement between the lugs using digital calipers—measure three times and round up fractions. Confirm against your model’s specs before retrying. Verify your exact model and lug width. - Problem: Slippage where the band moves side-to-side under pressure.
Likely cause: Spring bar not locked securely or worn from reuse.
Fix: Test by pulling the band outward and twisting gently; if loose, compress the spring bar fully and reseat by gently rocking back and forth until it clicks and holds without movement. Replace if damaged. - Problem: Wrong buckle orientation (looks upside down or awkward on wrist).
Likely cause: Buckle end installed on the wrong lug side.
Fix: Remove and swap ends—ensure the buckle side attaches to the top lug (12 o’clock) and the straight end to the bottom (6 o’clock). Verify fit on wrist before finalizing. - Problem: Difficulty with V-shaped lugs where standard bands do not align.
Likely cause: Lug geometry requires angled spring bar insertion or model-specific adapters.
Fix: Angle the spring bar to match the V-shape during insertion; use gentle back-and-forth movement to seat it. If persistent, check for compatible adapters for your exact model. Verify your exact model and lug width.
FAQ: G-Shock Watch Band Questions Answered
How do I measure my G-Shock lug width?
Measure the distance between the lugs using digital calipers or a ruler. Clean the area first, align the tool precisely, measure three times for consistency, and round up any fractions. Verify your exact model and lug width, as some vary to 18mm.
What tools do I need to replace a G-Shock band?
Essential tools include a spring bar tool, microfiber cloth, and matching spring bars. Optional items like digital calipers, tape for scratch protection, and adapters help; always prioritize a proper spring bar tool over makeshift options.
Are adapters always required for third-party bands?
No, adapters are not always required. Standard G-Shock models like DW5600 often work with direct 16mm fits, while others like GW-9400 may need adapters for wider NATO-style bands. Always verify your exact model and lug width.
Which materials are best for active and sport use?
Resin, rubber, and silicone materials excel for active use due to their flexibility and water resistance. They suit gym workouts or daily rugged wear, unlike leather or metal which prioritize style over intense activity.
Do all G-Shock models have the same band size?
No, G-Shock models do not all have the same band size. Popular ones like DW5600 and GA2100 often feature 16mm lug width, but variations exist. Verify your exact model and lug width every time.
How do I care for my replacement band?
Care varies by material: wipe resin, rubber, and silicone with mild soap and water after sweat or salt exposure, then dry thoroughly. Condition leather occasionally to maintain suppleness. Avoid soaking metal or steel mesh; instead, clean with a soft brush and dry immediately to prevent water spots. Store away from direct sunlight.
Can I use leather or metal on rugged models?
Yes, you can use leather or metal or steel mesh on rugged models like GA2100 or GW-9400, though they may not withstand extreme impacts as well as resin. Choose full-grain leather for office style or mesh for a refined look, verifying lug width compatibility first.
What are the most common beginner mistakes when changing a G-Shock band?
Common mistakes include pin loss, misalignment, wrong buckle orientation, and case scratching. Avoid them by using a spring bar tool, working slowly to seat pins, ensuring buckle faces up, and protecting the case with tape or cloth.
What should I do if the band feels loose or slips after installation?
Check spring bar engagement by tugging gently and working it back and forth to seat fully. Re-measure lug width if needed, ensure no taper mismatch, and verify your exact model matches the band’s design.